15 Easy Air Dry Clay Projects for Absolute Beginners
Disclosure: This page contains affiliate links, and I earn a commission when you buy through them at no extra cost to you. As an Amazon Associate I earn from qualifying purchases. I also work with Commission Junction and Rakuten Advertising. I write everything here myself with some help from AI.
I did not expect to love working with clay. I thought that was for children in elementary school or artists with studio space and berets.
Then I made a little pinch pot at a craft workshop, and something in me went quiet.
There is something about working with clay that slows you down in the best possible way. Your hands are busy. Your mind gets to rest. And at the end, you have something real and tangible that you made with your own two hands.
Here is the truth about air dry clay projects: they are for everyone. They are especially good for us.
Table of Contents
Why Air Dry Clay Is Perfect for Beginners
No kiln. No firing. No class required. Air dry clay dries on its own, right on your kitchen table. You work it, shape it, let it dry, paint it, seal it. That is the whole process.
Das Air Hardening Clay and Crayola Air Dry Clay are both available on Amazon, and both work beautifully. Pick up a simple clay tools set while you are at it.
What You Need to Get Started
A pound or two of air dry clay will get you through several projects. You will also want acrylic paints, a few wooden skewers, and simple tools, parchment paper to work on, and clear sealer or Mod Podge. That is genuinely all of it.
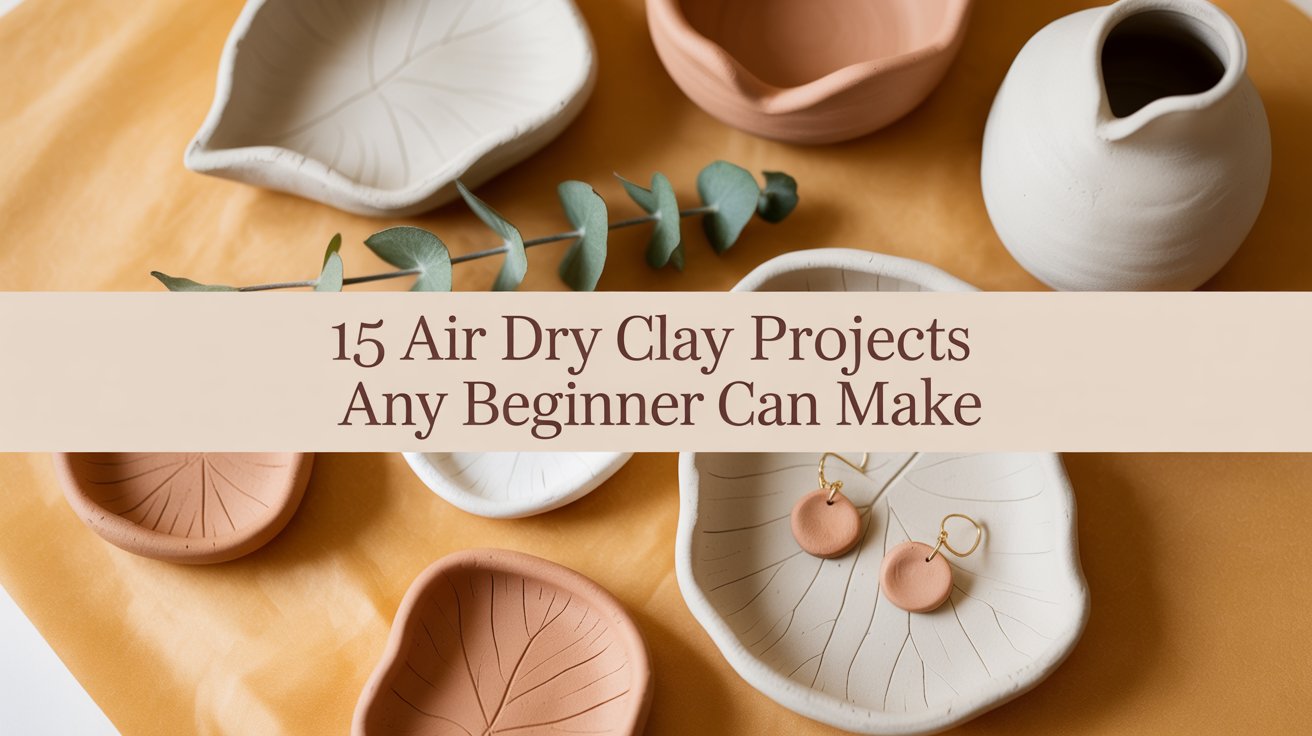
15 Air Dry Clay Projects Worth Making
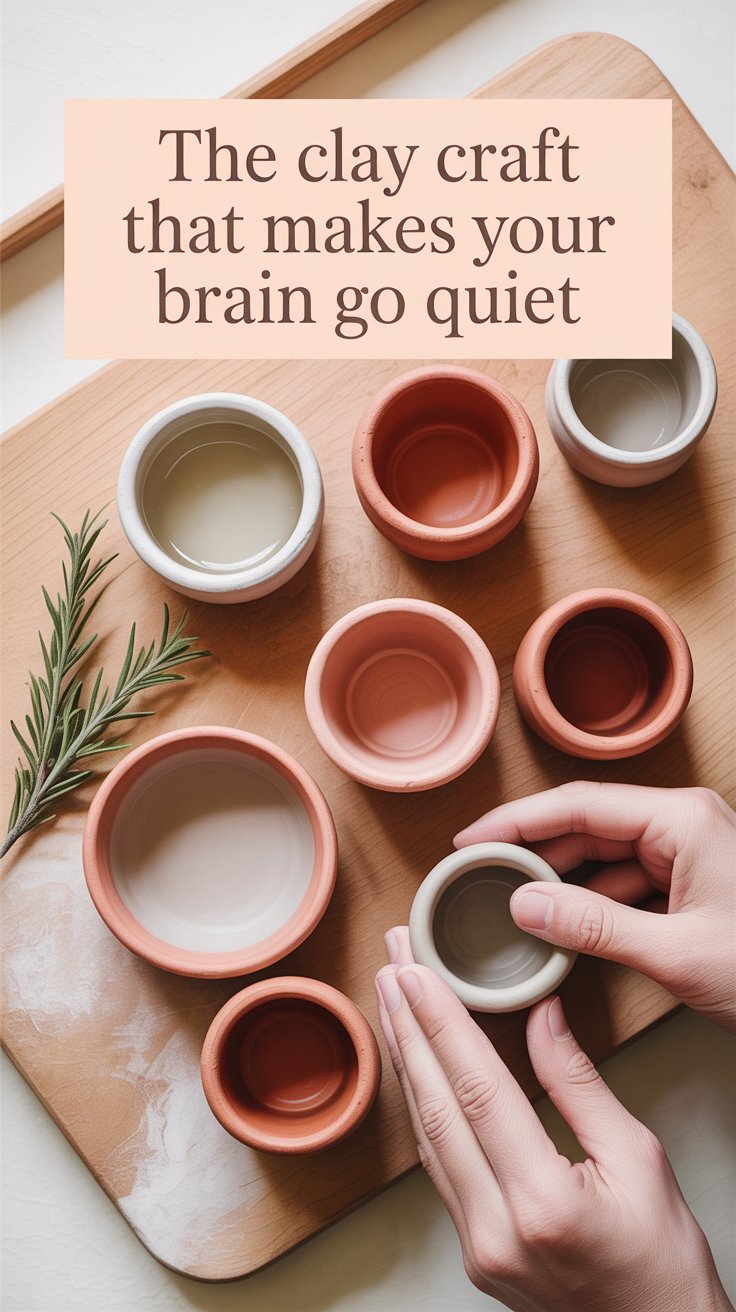
1. Pinch Pot Bowl Work a ball of clay with your thumbs, slowly pinching and turning until you have a small bowl. Let dry completely, then paint or leave natural. This is the most meditative thing I have ever made.
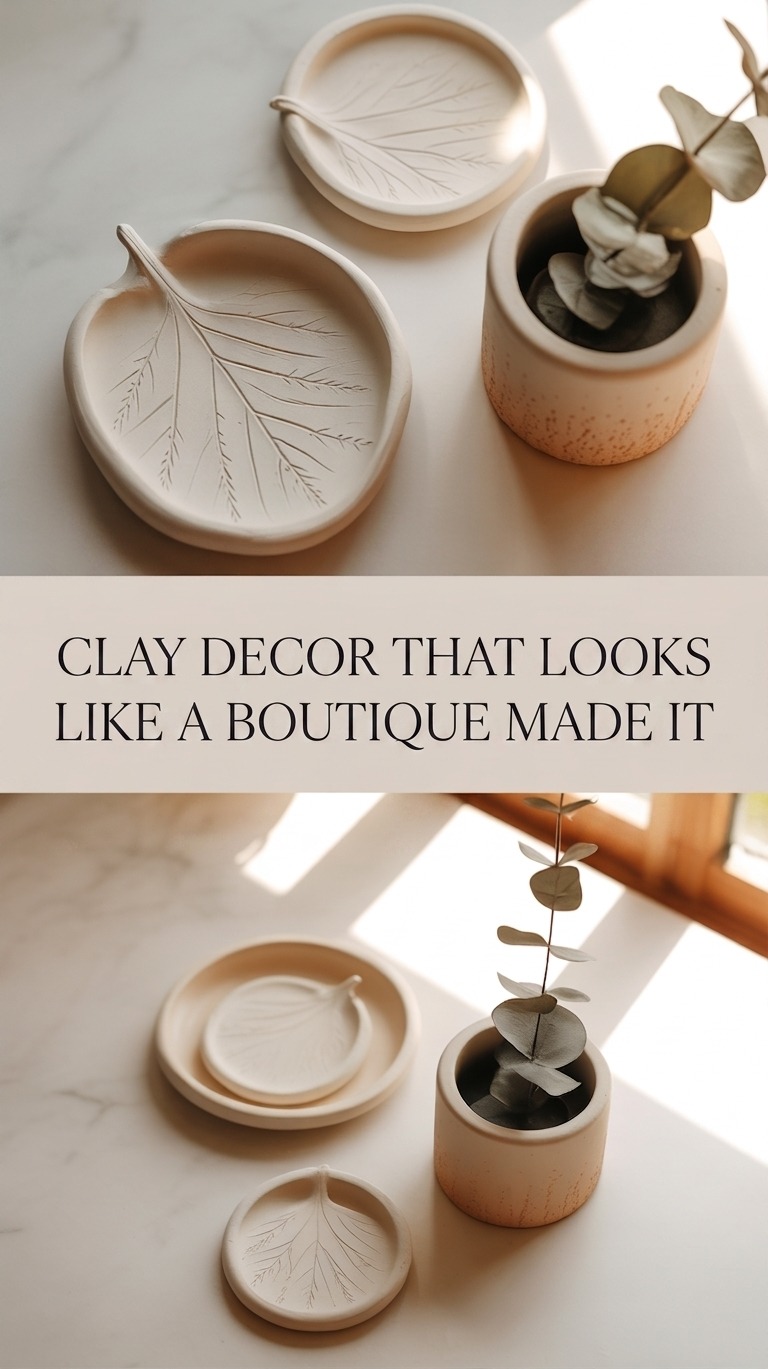
2. Leaf Impression Dish Press a large leaf into a flattened piece of clay, then gently peel it away. You are left with a perfect impression. Shape it into a small dish and let dry.
3. Clay Earrings Roll clay thin, cut simple shapes, add a small hole for the earring hook, and let dry. Paint with acrylic paint and seal. These are fashion-forward and completely handmade.
4. Ring Dish Make a shallow dish just big enough for your rings and bracelets. Shape the edges up slightly. This is a staple project and one of the most practical.
5. Textured Coasters Flatten clay into circles, press fabric or lace into the surface for texture, let dry, and seal. Functional and beautiful.
6. Herb Markers for the Garden Cut small oval or rectangular shapes, use a skewer to write the herb name while the clay is still wet. Let dry thoroughly before putting in soil.
7. Small Vase or Pencil Cup Build up coils of clay one on top of another to create a small vessel. Smooth inside and outside with damp fingers. Paint once dry.

8. Moon Phase Wall Hanging Cut graduated crescent and circle shapes representing the phases of the moon. Dry, paint white or gold, and hang on a small wooden dowel with twine. This one is genuinely stunning.
9. Succulent Pot Shape a small pot with a drainage hole and let it dry thoroughly before using. Seal inside and out before planting.
10. Clay Button Set Roll small clay balls, flatten, and use a skewer to add the holes. Let dry and paint. Sweet additions to knitting and sewing projects.
11. Stamped Gift Tags Cut rectangular shapes, add a small hole at the top, and press a rubber stamp into the wet clay. Let dry and use as gift tags or ornaments.

12. Air Dry Clay Clock Face Flatten a large circle of clay and use number stamps to add the numerals. Add a small hole in the center for a clock kit insert. This is a project that people absolutely cannot believe you made yourself.
13. Tiny Succulent Planter Set Make a set of three to five small matching planters and display them together. Consistent shape and color make them look like something from a boutique.
14. Beaded Necklace Pendant Shape a small pendant, add a hole for the chain, and paint with a design or solid color. Seal with clear glaze. Wear it.
15. Wall Pocket Vase Shape a small cone or pocket against a flat back piece. Let the back dry flat so it sits flush against the wall. Mount with a small hook and add a tiny dried flower arrangement.
What I Have Learned
Do not rush the drying. That is the main thing. Let it dry completely before you paint and completely again before you seal.
And when you are working with your hands like this, you tend to take better care of them. I have learned a few things about that too. Check out my post on body skin care routine for women over 70 because your hands deserve the same attention as your clay.