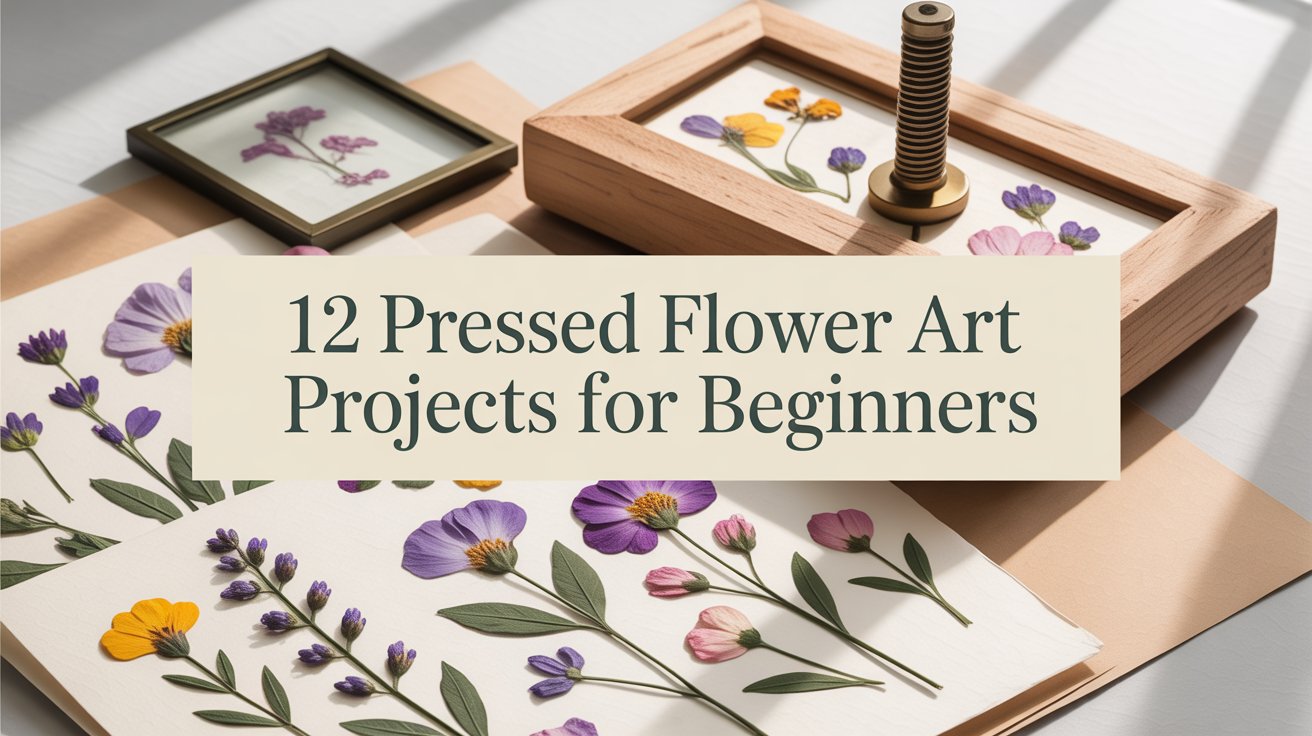
12 Stunning Pressed Flower Art Projects for Beginners
Disclosure: This page contains affiliate links, and I earn a commission when you buy through them at no extra cost to you. As an Amazon Associate I earn from qualifying purchases. I also work with Commission Junction and Rakuten Advertising. I write everything here myself with some help from AI.
My mother used to press flowers from her garden between the pages of her Bible. I found them after she passed. Pansies and black-eyed Susans, flattened and faded to the most beautiful soft colors you’ve ever seen.
That is when I understood that pressed flower art is not a hobby. It is a way of keeping things.
I started pressing flowers about two years ago, and I have not stopped. Let me show you what I have learned, and exactly how to make a few of these yourself.
Table of Contents
Why Pressed Flower Art Is Perfect for Women Our Age
There is something wonderfully unhurried about this craft. You collect flowers. You press them. You wait. You do not need to rush. The slowness is part of the point.
And the supplies are minimal. A flower press or a heavy book, some art paper, and whatever is growing in your yard or sitting in a vase in your kitchen.
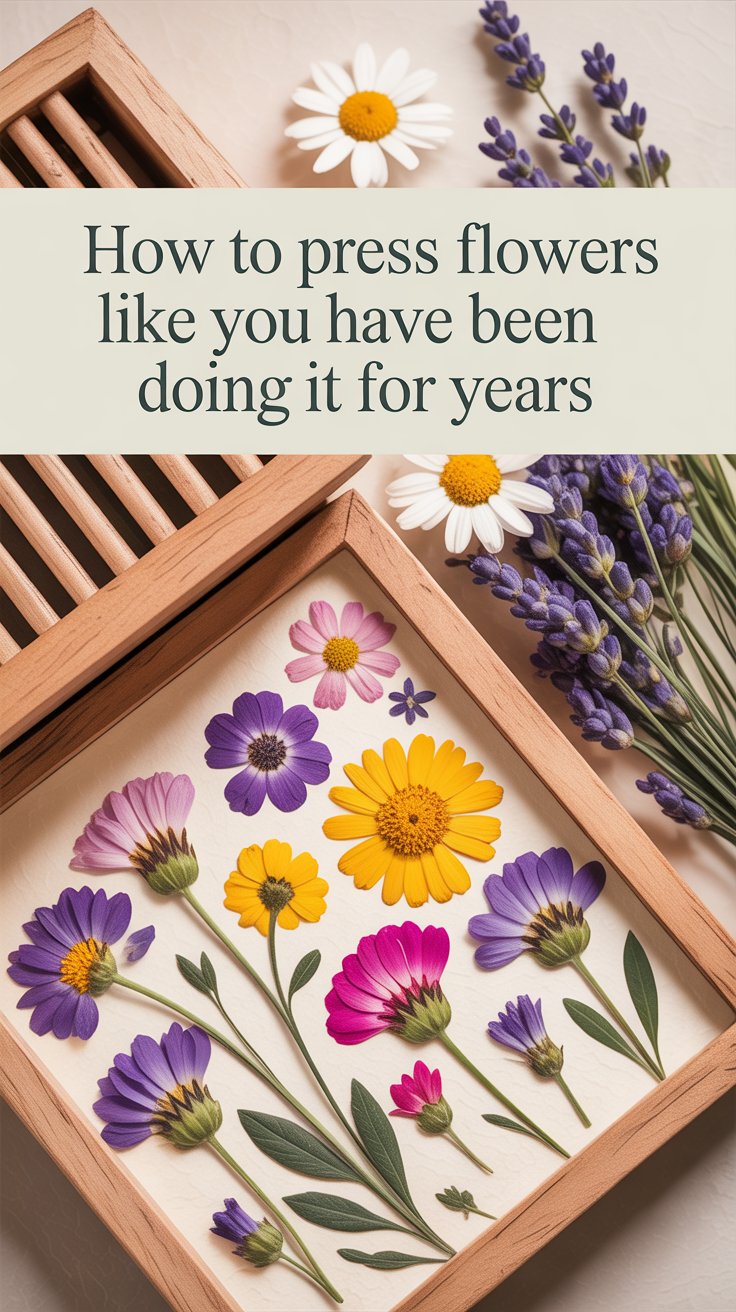
How to Press Flowers the Right Way
Here is the truth. Every project below starts in the same place. Get the pressing right, and everything after it is easy. Get it wrong, and you are gluing brown mush to a card. So we start here.
You have two ways to do it.

The slow way is a flower press. You layer your flowers between sheets of paper, screw it down tight, and wait three to four weeks. The results are gorgeous and it costs you almost nothing in effort. This is the one I learned on.
But I will be honest with you. Three weeks is a long time to wait when you are excited. I lost interest more than once in the early days. So if you are the kind of person who wants to see something today, there is a faster way, and I wish someone had told me sooner.

A microwave flower press gets you pressed flowers in a couple of minutes instead of a month. You still get that flat, dried, jewel-like flower; you just do not have to be patient about it. For a beginner who wants a win on day one, this is the thing I would buy first.
Two more things make a real difference. A pair of fine-tip tweezers, because pressed petals are delicate and your fingers are not, and you will tear fewer of them. And a bag of silica gel for the thick flowers, like roses, that a press flattens too hard.

Press flowers at their peak. Not fully opened, not wilting. The day they look their best is the day to press them.

12 Pressed Flower Art Projects Worth Trying
The first five, I am going to walk you all the way through, step by step, because they are the ones worth doing well. The rest, I will give you the idea and let you run with it.
1. Framed Botanical Print (full how-to)
This is the classic, and it looks museum-quality when it is done right.
Step one. Lay your pressed flowers out on a sheet of acid-free art paper before you glue anything. Move them around. Live with the arrangement for a minute. This is the part people rush and regret.

Step two. Use the tiniest dot of glue on the back of each flower. A toothpick is your best friend here. Press gently with your fingertip and let it dry flat.
Step three. Mount it in a simple frame. Nothing fancy. The flowers are the art, the frame just holds them.

That is it. Hang it where the morning light hits it, and you will smile every time you walk past.
2. Resin Coasters (full how-to)
Now, resin scares people. I know it scared me. Here is the truth, though. It is far more forgiving than it looks, and once you have made one, you will want to make twenty.
Step one. Pour a thin first layer of resin into your silicone coaster mold. Just enough to cover the bottom. Let it get tacky.
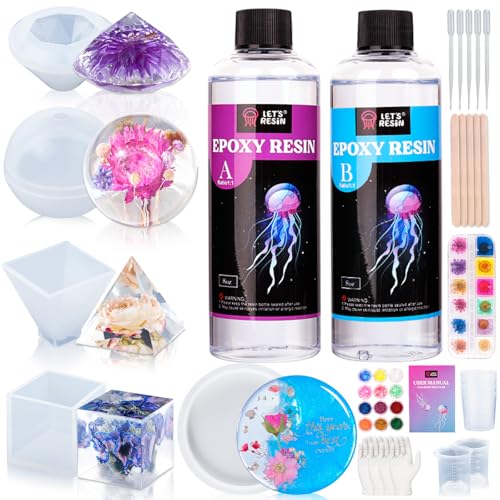
Step two. Lay your pressed flower face down onto that tacky layer. Face down, because the bottom of the mold becomes the top of the coaster. This one tip will save you a ruined coaster.

Step three. Pour the rest of the resin over the top, pop any bubbles with a toothpick, and leave it alone to cure. Walk away. Do not poke it.
When you pop it out the next day it looks like you bought it in a boutique. Nobody believes I made mine.
3. Resin Jewelry (full how-to)
This is my favorite project in the whole list, and I will tell you why in a second.
The method is just like the coasters, only smaller. You use a pendant or earring mold instead of a coaster mold, and you work with tiny flowers. Violets, forget-me-nots, little things.

Step one. Tiny dab of resin in the mold. Step two. Place your little flower with your tweezers, because there is no doing this with fingers. Step three. Fill, cure, pop it out, and add a jump ring and a chain.
Here is why I love it. I wear a pendant with a single violet from Wendy’s garden every time I leave the house. My daughter does not know how often I touch it. That is what this craft does. It turns a flower from a Tuesday into something you carry with you for years.

4. Double Glass Window Piece (full how-to)
This is the most breathtaking one I have made, and it is somehow one of the easiest.
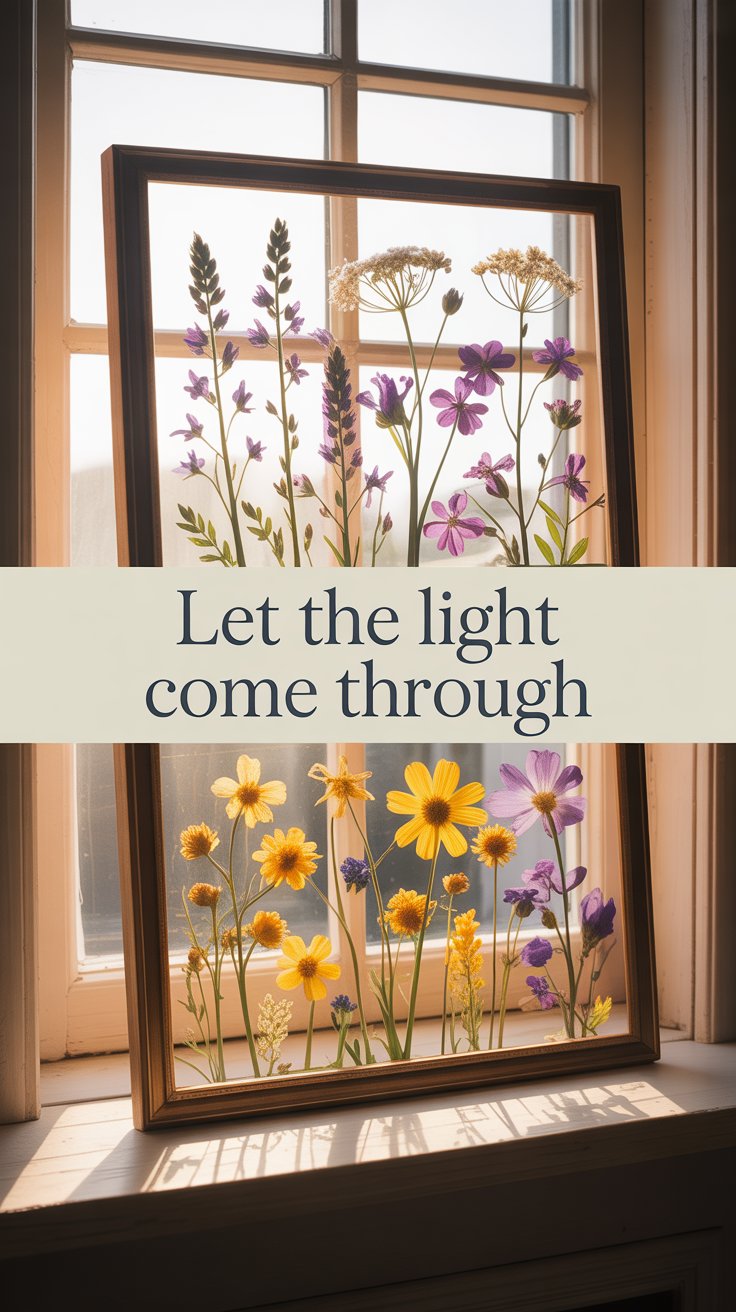
You use a floating glass frame, the kind with two panes of glass and a clip. Your pressed flowers float between the glass with the light coming through them.

Step one. Arrange your flowers on one pane. No glue at all. The two panes hold everything in place.
Step two. Lay the second pane on top and clip it shut.
Step three. Hang it in a window where the afternoon sun comes through. It turns into something like stained glass. I have one in my kitchen window, and the light moves the colors around all day.
5. Botanical Journal Cover (full how-to)
A plain journal becomes an heirloom with about twenty minutes of work.
Step one. Arrange and glue your pressed flowers onto the front of a plain journal.

Step two. Brush a thin coat of Mod Podge over the whole cover to seal the flowers down and protect them. Let it dry, then add a second coat.
Step three. Once it is fully dry, a coat of clear varnish makes it tough enough to actually use. This makes a gift people genuinely keep.
The Other Seven (quick ideas)
6. Candle Decorating. Press flowers onto pillar candles with a wax medium. The flowers glow through the wax. (If candles are your thing, I went deep on this in my candle making ideas post.)
7. Handmade Greeting Cards. Glue pressed flowers to cardstock. Nobody throws these away. I promise.
8. Bookmarks. Laminate pressed flowers between two layers of clear contact paper, punch a hole, add a ribbon.
9. Tray Liner. Arrange flowers under glass in a wooden tray. Instant heirloom.
10. Gift Wrap Accent. A single pressed flower on a wrapped gift instead of a bow. More beautiful and more meaningful.
11. Flower Press Wall Collage. Frame a collection of specimens from the same garden or the same walk. Label them for the botanical feel.
12. Window Hanging. Arrange flowers between two sheets of contact paper and hang in a sunny window. Simple and magical.
The Secret to Beautiful Pressed Flowers
Press flowers at their peak. Wildflowers press beautifully. So do pansies, violets, larkspur, and Queen Anne’s lace. Thick flowers like roses need to be pressed as individual petals, or dried in silica gel instead.
Frequently Asked Questions
How long do pressed flowers take to dry? In a traditional press, three to four weeks. In a microwave press, a couple of minutes. In silica gel, a few days. It depends how patient you are feeling.
Do pressed flowers fade over time? Some color softens, yes. Keeping your finished pieces out of direct, all-day sun helps. The faded look is part of the charm, though. My mother’s pansies are proof.
What flowers press the best for a beginner? Flat, thin flowers. Pansies, violets, cosmos, larkspur, and any wildflower. Start there before you try anything thick.
Is resin hard for beginners? It looks harder than it is. Work in thin layers, pop your bubbles, and leave it alone to cure. Your first one teaches you everything.
Can I use flowers from a grocery store bouquet? You can. Whatever is sitting in a vase in your kitchen right now will work. You do not need a garden to start.
[POLL BLOCK: “Which project are you trying first?” Options: Framed print, Resin coasters, Resin jewelry, The glass window piece, The journal]
And if you want to take care of yourself as carefully as you take care of your flowers, start with your skin. Here is my post on face serum for women over 70.